

Supply List:
8 1/2 x 11 Cardstock for Box
1 piece 12 x 12 patterned paper or cardstock for insert
Paper or cardstock scraps for tags
Paper scraps or stickers for embellishment
Ribbon– 2 feet of ribbon for tags (1 foot each of 2 different ribbons)
18” of twine or string
12” of ribbon to tie around box
Jingle Bell
2 Medium Brads
Tools: Paper Trimmer, Scissors, Scorpal or Scoring Tool and Ruler, 3/4” circle punch, tag corner punch, hole punch

 This is the template for the box, right click on the photo and save it to your computer. Print as a full sheet (8 1/2 x 11). You can also print this directly onto your cardstock- which is how I made our sample.
  Print box template onto the back side of 8 1/2 x 11 cardstock or patterned paper.
Cut along all the solid lines - don't cut the dashed lines.
Score and fold all of the dotted lines.
 Make the main box by sticking the bottom tabs [a] to the inside of the bottom of the box [b].
Now stick the sides [c] over the side flaps [d].
The lid: stick the flaps [e] to the underside of the top of the packet [f].
Stick the sides of the lid [g] over the flaps [h].
Finally, fold back the lip [i] under the front of the lid [j] and stick.
Cut out insert along solid lines, or just cut straight across and punch out curve with an oval punch. I used a 1 3/4” Stampin Up Punch.
Glue insert inside of the box if desired.
 To Finish the box:
Punch out two 3/4” circles. Glue to box. Insert brad through each circle.
Tie 18” of twine or string to bottom brad, wrap around and tie so the knot is hidden.
Embellish your box as desired.
I tied 12” of ribbon around and tied on a jingle bell.
I also added a cut out from my patterned paper
Now on to the accordion insert:
 Accordion Album Insert:
Cut patterned paper or cardstock to 5 1/2 x 11 3/4
Score at 2 1/2”
Turn and score at 1/4” from each short edge.
Trim longer flap from short edge.
Fold piece closed and adhere flaps so you have created one long pocket.
Score every 2 1/4” across pocket, creating five small pockets.
Use your bone folder to make sure all of your folds are nice and sharp.

Tags:
3 1/4 x 2, clip the top corners to make a tag shape.
Punch out 3/4” circles from patterned paper and add to tags.
Tie ribbon through the top of each.

3 1/4 x 2, clip the top corners to make a tag shape.
Punch out 3/4” circles from patterned paper and add to tags.
Tie ribbon through the top of each.


 2. Turn, score and fold your paper again at 6", do not open up.
 3. Score your paper at 3" along the entire length, crease and open back up.
 4. Cut along crease line as shown.
 5. Open up and fold paper in half horizontally-the cut section should be along the top. Stand the book up- the fold should be along the top edge. A diamon should form in the middle.
 6. Push the two ends together.
 7. Take the left end and fold to the front to form a cover.
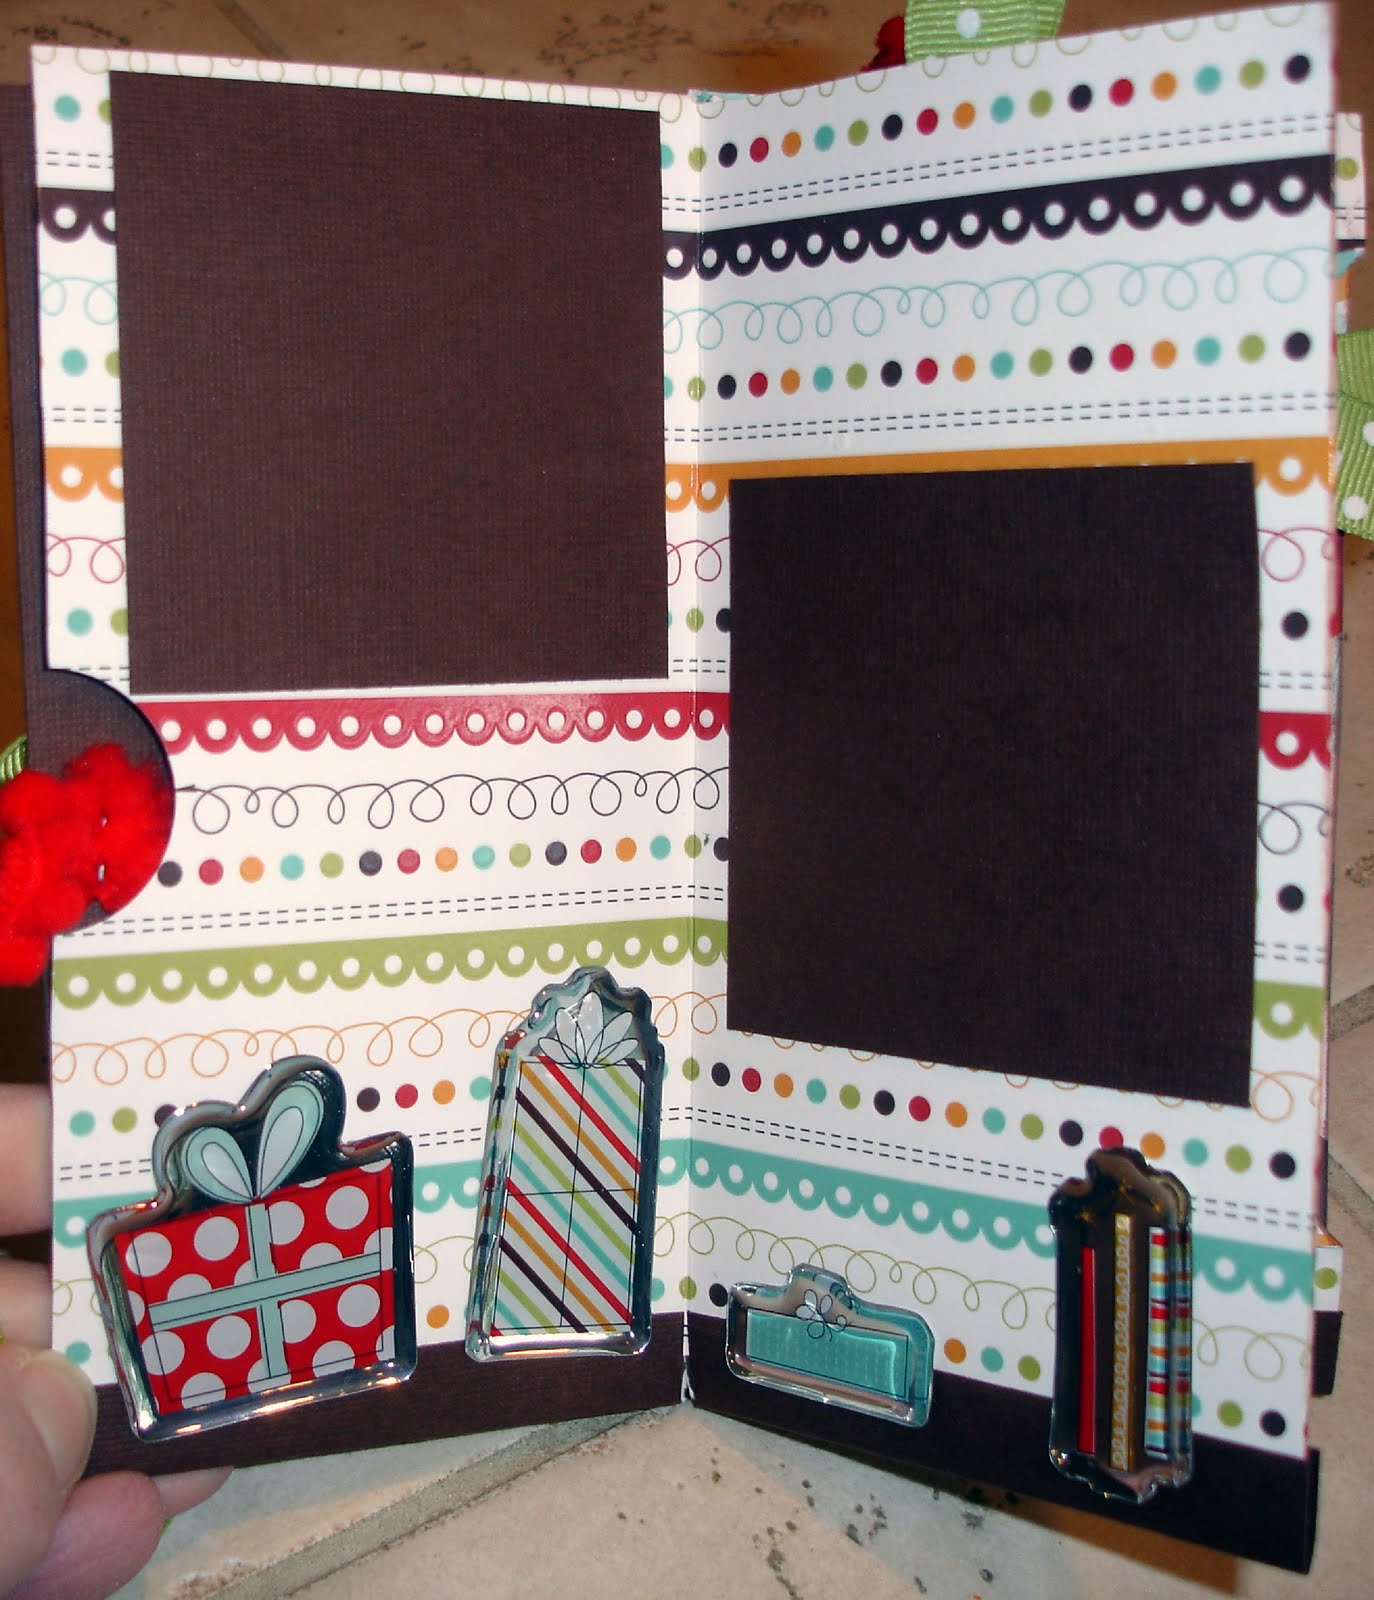


 Cover-
 Left Page-Brown Cardstock 6x5
 Left page-Green cardstock 6x5


 I used chipboard and then covered it with patterned paper and cardstock for my panels.
 To decorate your panels


 For the sample below she made a block for each person in the family, put their initial on it and filled it with words starting with that initial.


 Cut sides to score lines. Fold these cut pieces into the center and glue down for extra support. This will make the bottom of your card box.


 Box Lid:


